
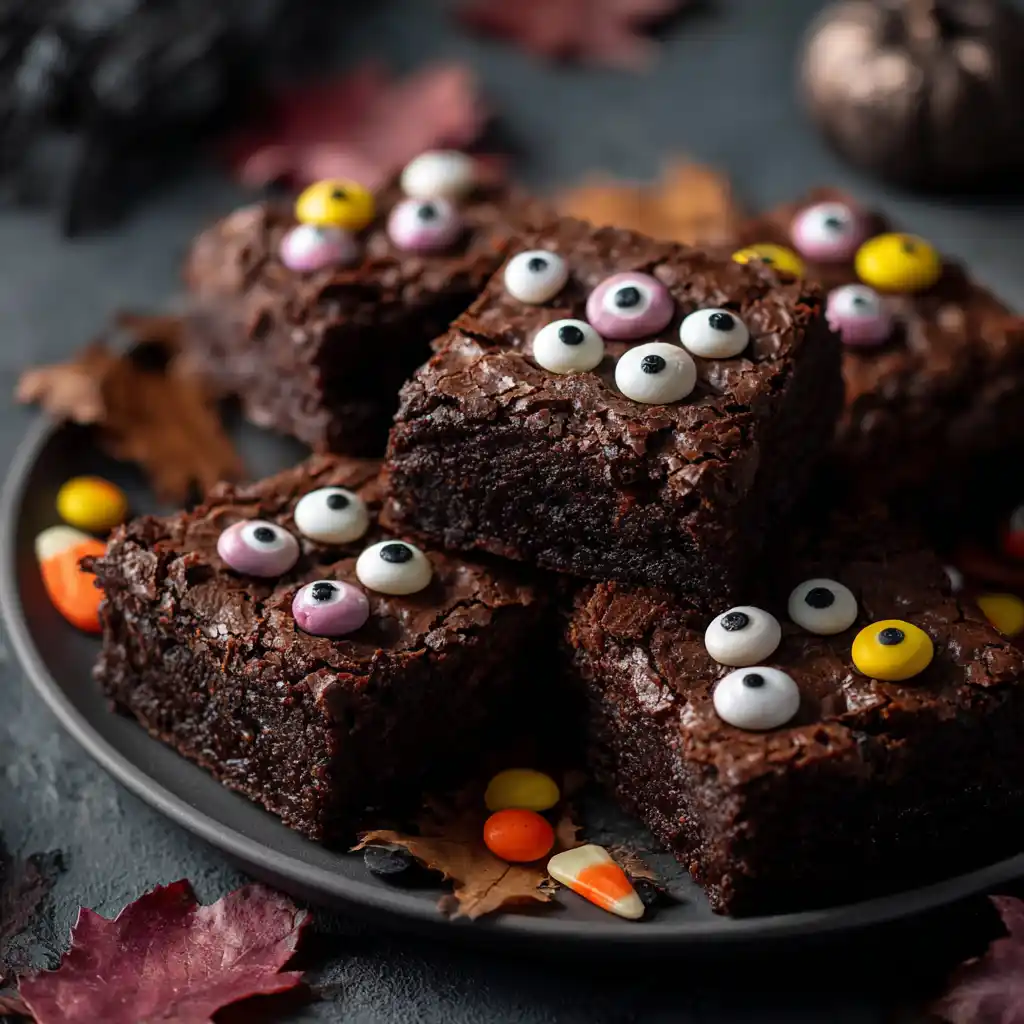
There’s something wickedly fun about baking with a touch of Halloween mischief, and these Monster Eye Brownies hit that sweet spot. They’re rich, fudgy, and topped with spooky candy eyes that delight kids and grown-ups alike. Whether you’re planning a haunted house party or just want to surprise the little monsters at home, this recipe guarantees smiles (and maybe a few giggles). Plus, they’re ridiculously easy to whip up – no fancy equipment or expert skills needed.
Table of Contents
Why You’ll Love This Monster Eye Brownies
- Perfect for Halloween parties or a spooky school treat box
- Simple pantry ingredients you already have at home
- Soft, fudgy texture with a rich cocoa flavor
- Easy decorating fun – get the kids involved!
- A real showstopper that tastes as good as it looks
Unlike other Halloween brownies that focus solely on decoration, this recipe nails the taste and look. The combination of melt-in-your-mouth brownies and playful candy eyeballs makes it a family favorite for the spooky season. You’ll want to bake a double batch!
Ingredients Needed
For the brownie base:
- ½ cup unsalted butter, melted
- 1 cup granulated sugar
- 2 large eggs (room temperature)
- 1 tsp vanilla extract
- ⅓ cup unsweetened cocoa powder
- ½ cup all-purpose flour
- ¼ tsp salt
- ¼ tsp baking powder
- ½ cup chocolate chips (optional for extra gooeyness)
For decorating:
- Candy eyeballs (found in most baking aisles during fall)
- ½ cup dark chocolate chips – for “monster scars”
- ¼ cup white chocolate chips – for eyeball base
Tip: Using high-quality cocoa and chocolate chips boosts flavor. Let your melted butter cool just a bit before mixing – this keeps the eggs from scrambling.
How to Make Monster Eye Brownies
1. Prep your pan and preheat
Line an 8×8-inch square pan with parchment paper or grease it lightly. Preheat oven to 350°F (175°C).
2. Make your brownie batter
In a medium bowl, whisk together melted butter and sugar until smooth. Add eggs and vanilla extract, beating until the mix becomes pale and slightly thick – this adds air and makes the brownies chewy.
3. Combine dry ingredients
Sift in cocoa powder, flour, salt, and baking powder. Stir until just combined; don’t overmix. If you’re using chocolate chips, fold them in now.
4. Bake to fudgy perfection
Pour the batter into your pan and spread it evenly. Bake for 20–25 minutes, checking with a toothpick – you want a few moist crumbs, not a dry poke.
5. Cool before decorating
Let the brownies cool completely in the pan – this makes them easier to cut and decorate without crumbling.
6. Melt and pipe chocolate scars
Microwave dark chocolate chips in 30-second bursts, stirring in between. Once melted, pipe “stitches” or “scars” along one edge of each brownie using a piping bag or a zip-top bag with the tip cut off.
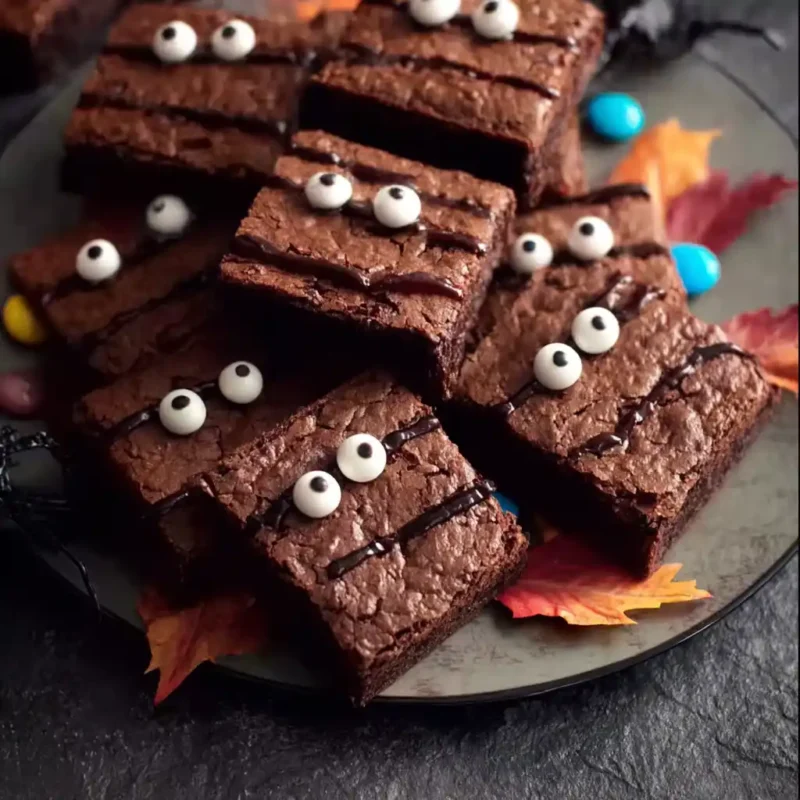
7. Create monster eyes
Melt white chocolate and add a small circle in the center of each brownie. Quickly press a candy eyeball on top before the chocolate sets. For extra pop, pipe a ring of dark chocolate around the eye.

8. Let set and serve
Allow the decorations to firm up. Serve on a spooky platter or wrap individually for lunchbox fun.

Monster Eye Brownies
- Total Time: 40 minutes
- Yield: 12 brownies 1x
- Diet: Vegetarian
Description
These Monster Eye Brownies are spooky, fudgy, and perfect for Halloween! With rich chocolate flavor and playful candy eyeballs, they’re a treat everyone will love.
Ingredients
½ cup unsalted butter, melted
1 cup granulated sugar
2 large eggs, room temperature
1 teaspoon vanilla extract
⅓ cup unsweetened cocoa powder
½ cup all-purpose flour
¼ teaspoon salt
¼ teaspoon baking powder
½ cup chocolate chips (optional)
For Decorating:
½ cup dark chocolate chips (for piping)
¼ cup white chocolate chips (eyeball base)
Candy eyeballs (store-bought)
Instructions
1. Preheat your oven to 350°F (175°C). Line an 8×8-inch baking dish with parchment paper or lightly grease it.
2. In a medium bowl, whisk melted butter and sugar until smooth.
3. Add eggs and vanilla extract. Beat until slightly thickened and lighter in color.
4. Sift in cocoa powder, flour, salt, and baking powder. Mix just until combined. Fold in chocolate chips if using.
5. Pour the batter into the prepared pan. Spread evenly.
6. Bake for 20–25 minutes, or until a toothpick comes out with moist crumbs.
7. Let cool completely before decorating.
8. Melt dark chocolate chips in 30-second intervals until smooth. Pipe stitches on each brownie using a piping bag or zip-top bag.
9. Melt white chocolate. Place a dollop in the center of each brownie. Add a candy eyeball on top while still soft.
10. Optional: Pipe a chocolate ring around the eyeball for more effect. Let decorations set before serving.
Notes
For clean cuts, chill brownies before slicing and use a clean knife between slices.
Use colorful candy melts for a spooky twist.
To make gluten-free, substitute flour with a 1:1 gluten-free blend containing xanthan gum.
- Prep Time: 15 minutes
- Cook Time: 25 minutes
- Category: Dessert
- Method: Baking
- Cuisine: American
Nutrition
- Serving Size: 1 brownie
- Calories: 210
- Sugar: 20g
- Sodium: 80mg
- Fat: 11g
- Saturated Fat: 6g
- Unsaturated Fat: 4g
- Trans Fat: 0g
- Carbohydrates: 27g
- Fiber: 2g
- Protein: 3g
- Cholesterol: 40mg
Serving and Storage Tips
Spooky Serving Ideas
These Monster Eye Brownies are perfect for stacking on a Halloween-themed tray alongside other fall favorites like pecan pie lasagna for a rich, layered dessert combo. Add a pop of color with festive napkins or Halloween picks for extra flair. They’re a guaranteed hit at school parties, bake sales, or cozy family nights.
Storage and Reheating
- Room Temperature: Store in an airtight container for up to 4 days. Keep away from direct heat or sunlight to preserve the decorations.
- Refrigerator: For longer freshness, refrigerate up to a week. Let them come to room temperature before serving for best taste and texture.
- Freezer: Freeze before decorating for up to 2 months. Thaw overnight in the fridge, then add your spooky toppings.
They also pair well with lighter fall sweets like peach cobbler cookies for a balanced dessert spread your guests will love.
Helpful Notes
- Cut clean squares: Chill the brownies for 15 minutes before slicing and wipe your knife clean between cuts to avoid crumbs.
- Want more? Double the recipe and use a 9×13-inch pan. Bake an extra 5–8 minutes, checking for moist crumbs.
- No piping bag handy? Just use a sandwich bag and snip off a tiny corner to create your spooky designs.
- Change it up: Use green, orange, or purple candy melts instead of white chocolate for extra creepy eyes.
- Make it crunchy: Add chopped pecans or crushed pretzels to the batter for extra bite.
You can even turn these into brownie pops by sticking them on lollipop sticks after chilling them in the fridge.
Conclusion
There’s something magical about combining chocolatey richness with playful Halloween charm, and these Monster Eye Brownies deliver both in every bite. They’re fun to make, simple enough for kids to join in, and guaranteed to disappear quickly from any dessert table.
Tried this recipe? I’d love to know how it turned out! Leave a comment and give it a star rating below.
And if you got creative with your monster designs or added your own spooky twist, don’t be shy, share your ideas! What did your monsters look like? One-eyed and goofy, or wide-eyed and wild?
Frequently Asked Questions
Can I use boxed brownie mix instead?
Yes, absolutely. Just follow the box instructions and use this recipe for decoration. The homemade version is fudgier, but both are fun and delicious.
Can I make this recipe gluten-free?
Definitely. Swap the all-purpose flour for a 1:1 gluten-free baking blend that includes xanthan gum. The texture will still be chewy and satisfying.
Why are my brownies dry or too cakey?
This usually happens from overmixing or baking too long. Mix just until the ingredients come together and remove from the oven when a toothpick comes out with a few moist crumbs.
Is this recipe freezer-friendly?
Yes, but freeze the brownies before decorating. Once thawed, add your eyeballs and piped chocolate for the best results without smudging.